Clean Install of Windows 11 Pro 22H2 with Local Account
Windows 11 was release over a year ago on October 5th 2021, and has had many new features added, and several issues sorted out. If you’re looking to have a refreshed look, more secure operating system, and new features, now is the time to move to Windows 11.
In this article, I’ll guide you though checking if your system is compatible, creating a USB installation media, and installing Windows 11 Pro 22H2 with a local account.
This guide is specific to Windows 11 Pro Edition. If you are currently running Windows 10 Pro, then you will not need a new license, and once Windows 11 is installed, you’ll be good to go. If however, you are running Windows 10 Home, then this guide isn’t for you, unless you have purchased a separate Windows 11 pro license for use.
First have a look at the minimum requirements below, to make sure your system meets the requirements.
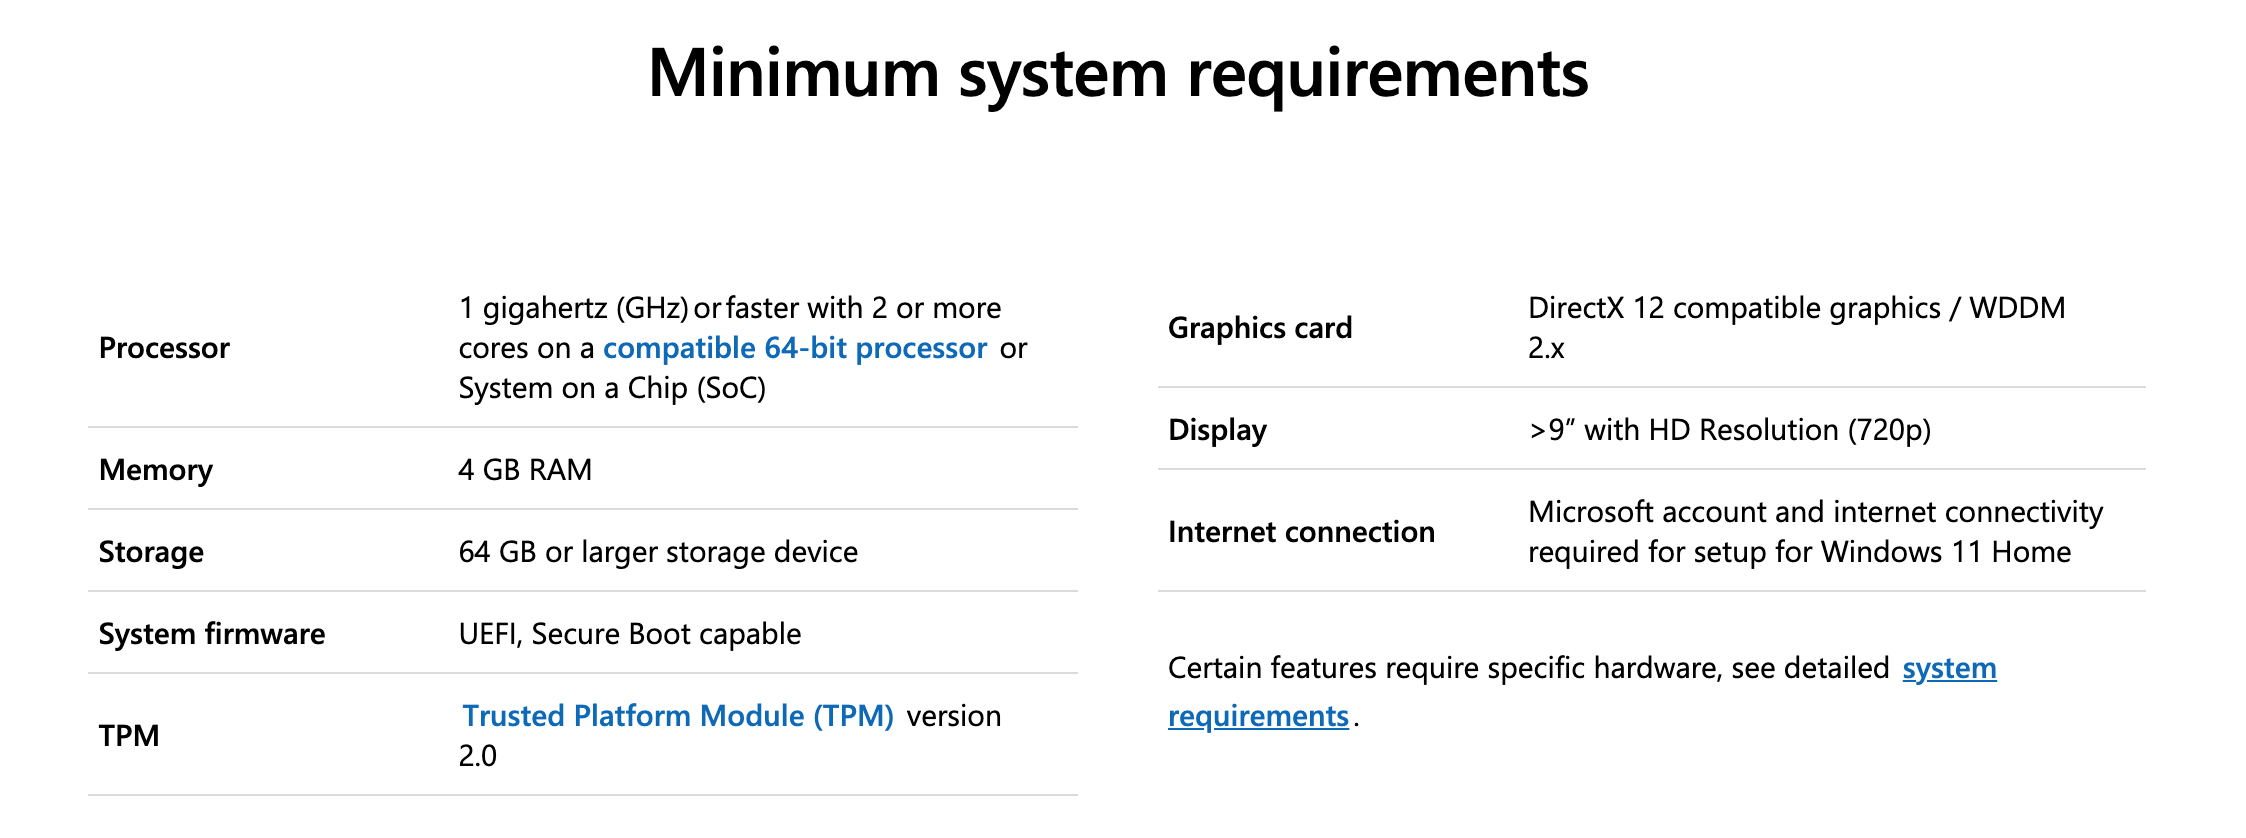
With the above in mind, lets make sure your system is compatible, by using the PC Health Check app. https://aka.ms/GetPCHealthCheckApp. If your system is compatible, you’re ready to move on.
Next download the Windows 11 Installation Media here: https://www.microsoft.com/en-ca/software-download/windows11. Once opened, accept the license agreement, then ensure it shows Windows 11 for the edition, and that “Use the recommended options for this PC” is selected, then hit next. Insert a USB flash drive with at least 8GB of storage into the computer. This USB drive will be formatted, so make sure you backed up anything on the USB drive, as it will be lost. Select “USB flash drive”, and hit next. Follow the remaining steps to complete the process.
Remember this is a clean installation we’re about to perform, so this will format your drive, so you will lose all your data, and programs. Ensure you backup any data you need to a portable device, so you can copy it back when everything is done. There are upgrade option to go from Windows 10 to 11, which doesn’t format your drive, but I’m not covering that in this article.
With the USB inserted, restart the computer, and select the boot menu. Consult your motherboard instructions if you are not sure how to access the boot menu, as many motherboards are different. From the boot menu, select the USB drive. At this point the system should boot from the USB, and the Windows 11 installation should start.
Most of the installation is straightforward, and can really do without going through everything step by step, but I wanted to cover everything none the less.
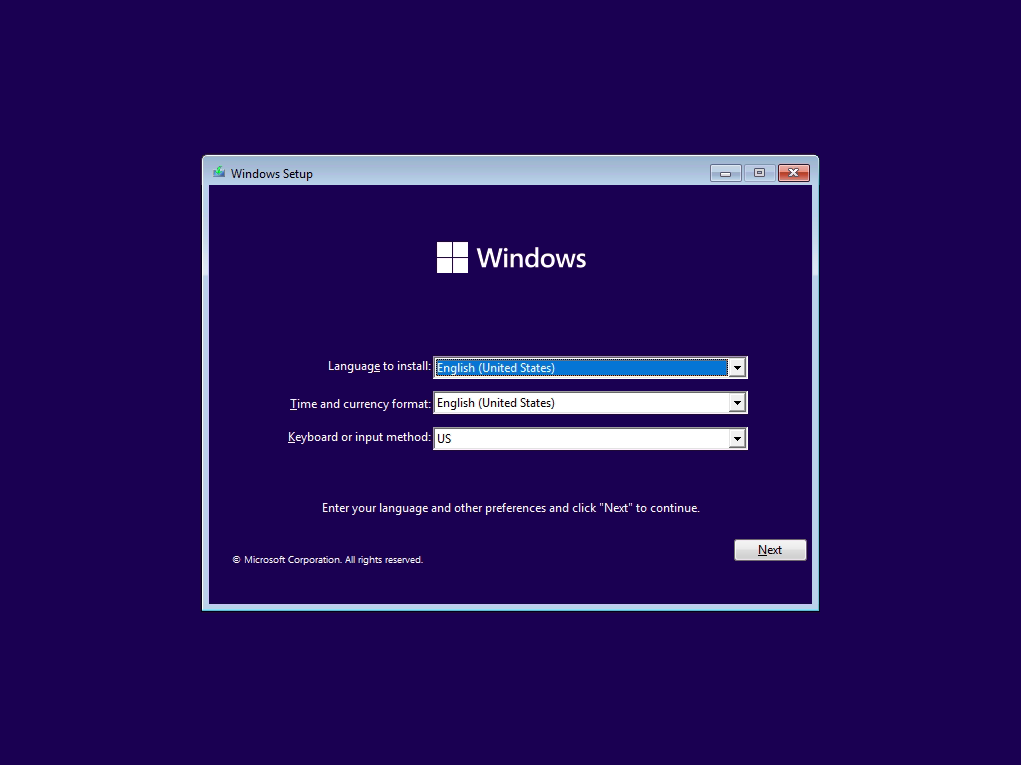
From within the setup, follow the prompts to enter your preferred settings.
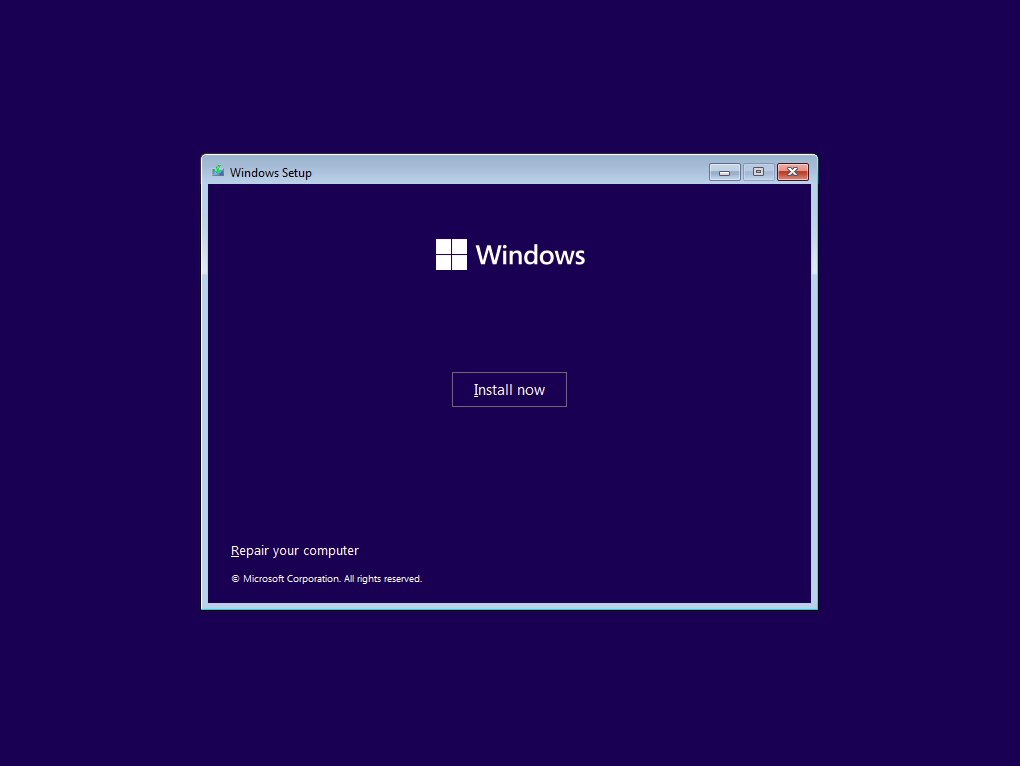
Select “Install Now”
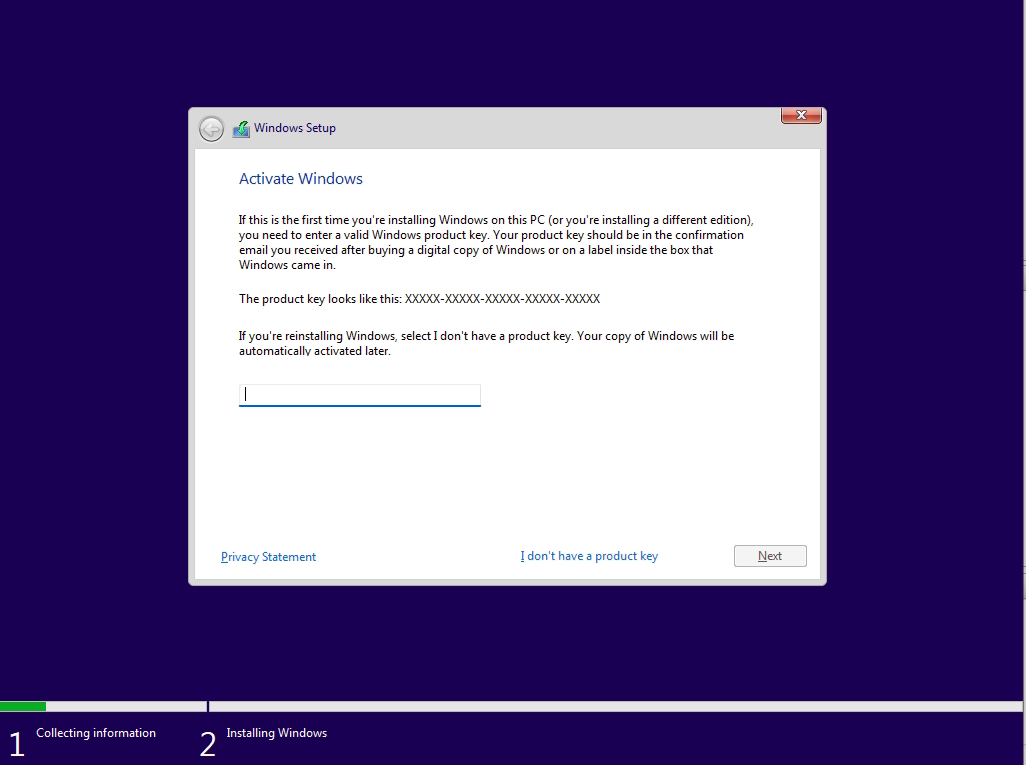
If prompted for the activation, select “I don’t have a product key”, then hit next.
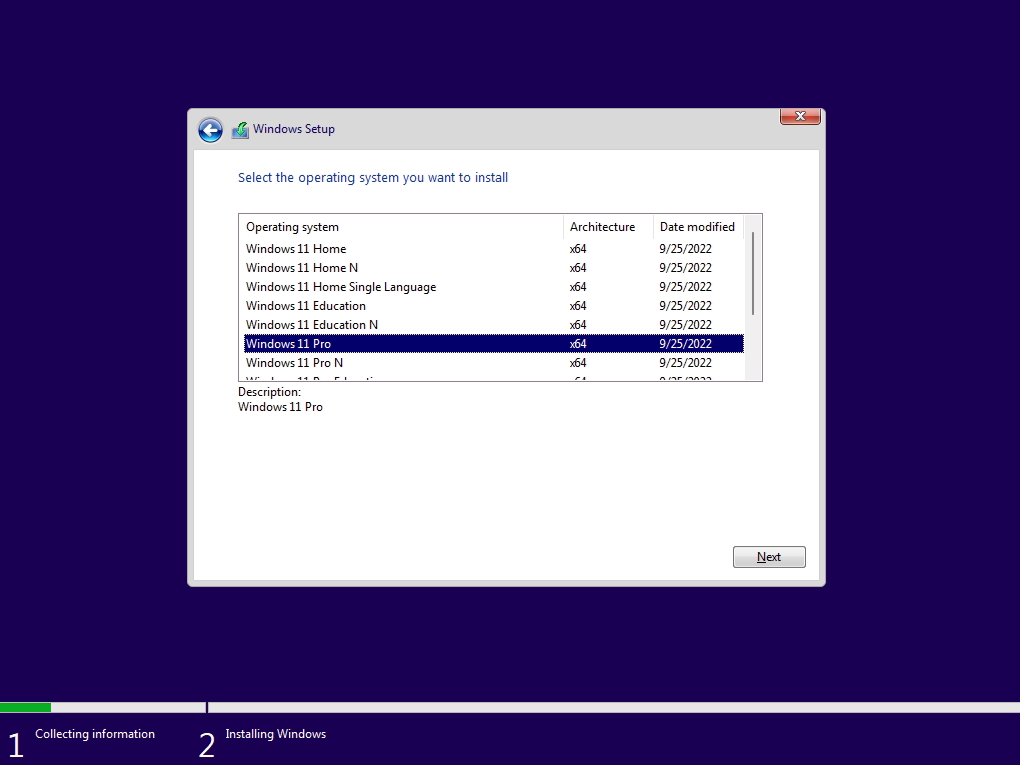
Select “Windows 11 Pro”.
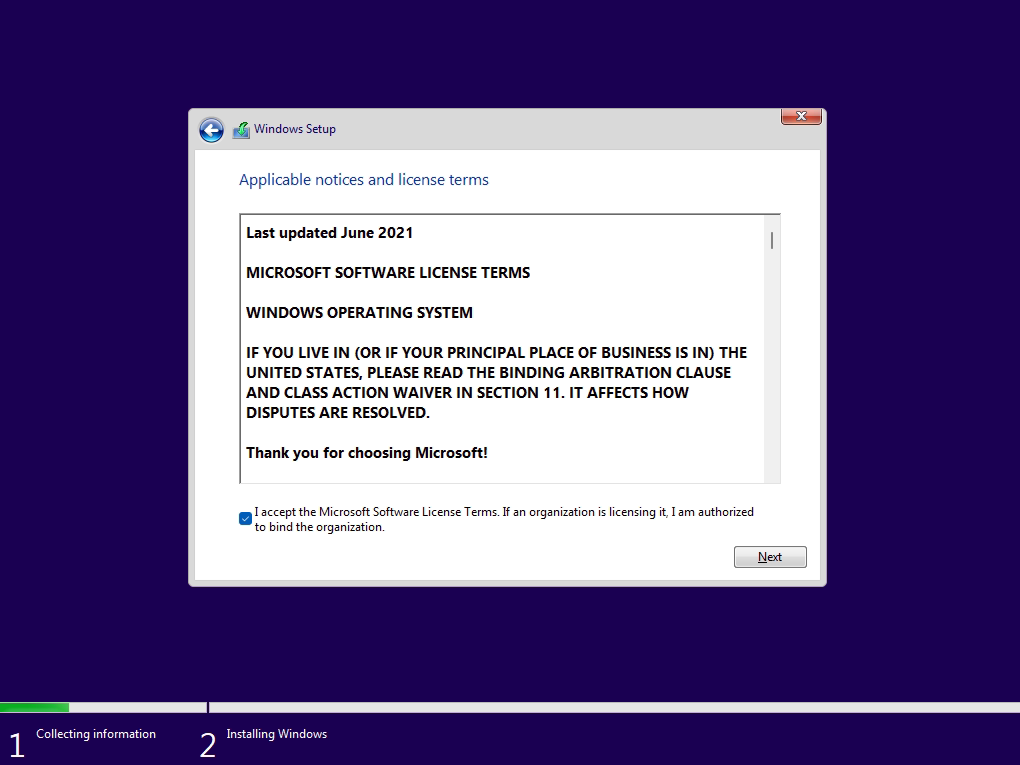
Accept the License Terms.
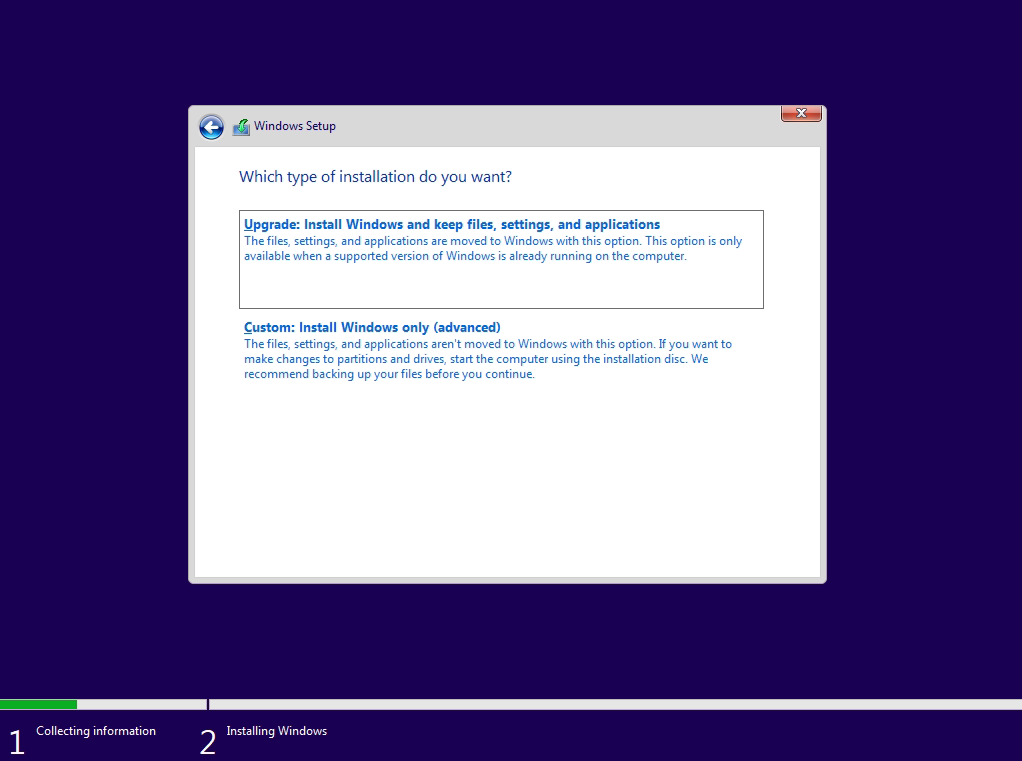
Select “Custom: Install Windows only (Advanced)”.
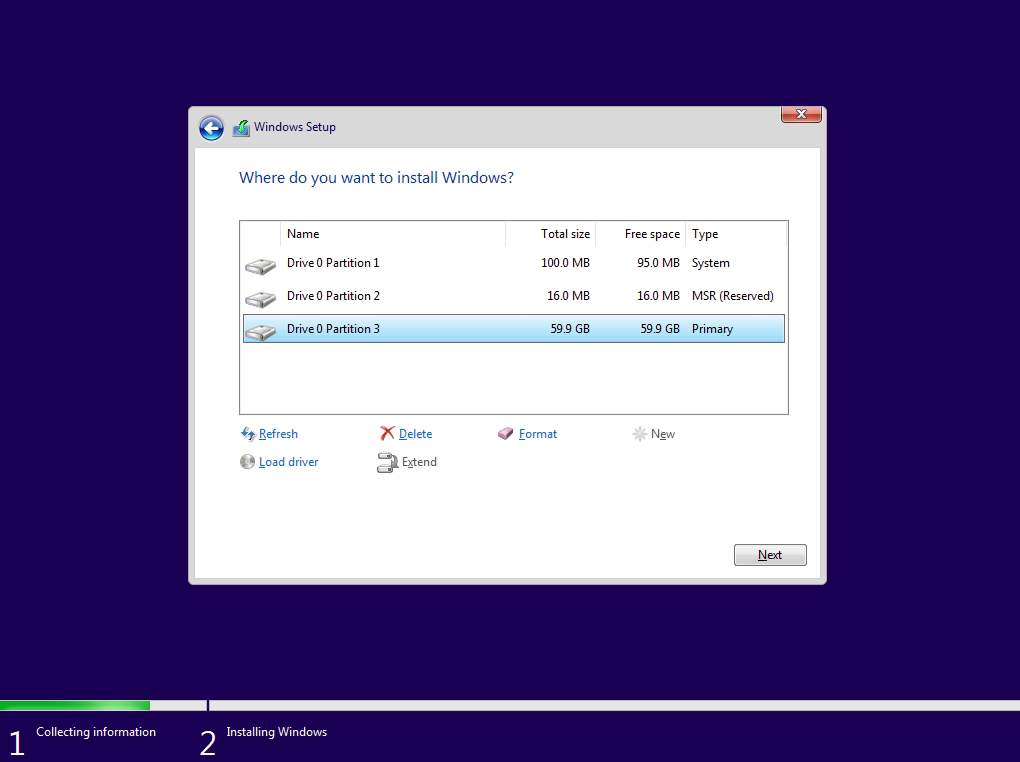
Select your primary drive in which you want to install Windows 11, and select Format. Then select next. Keep in mind this will erase everything, and install a fresh copy on Windows 11 Pro.
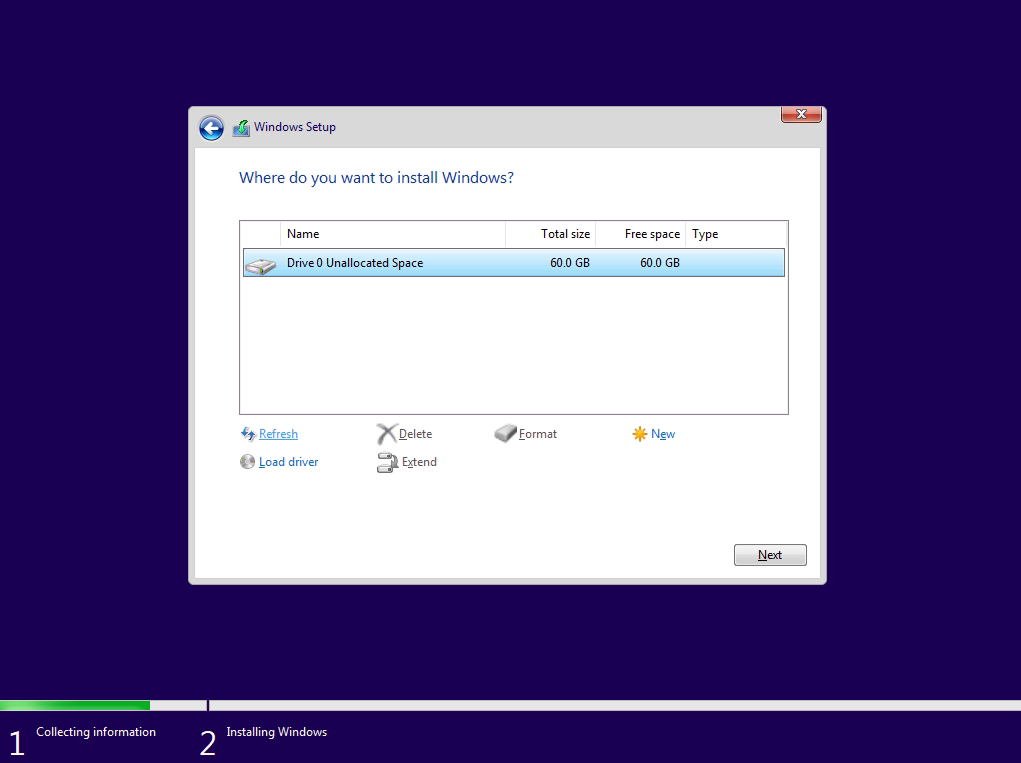
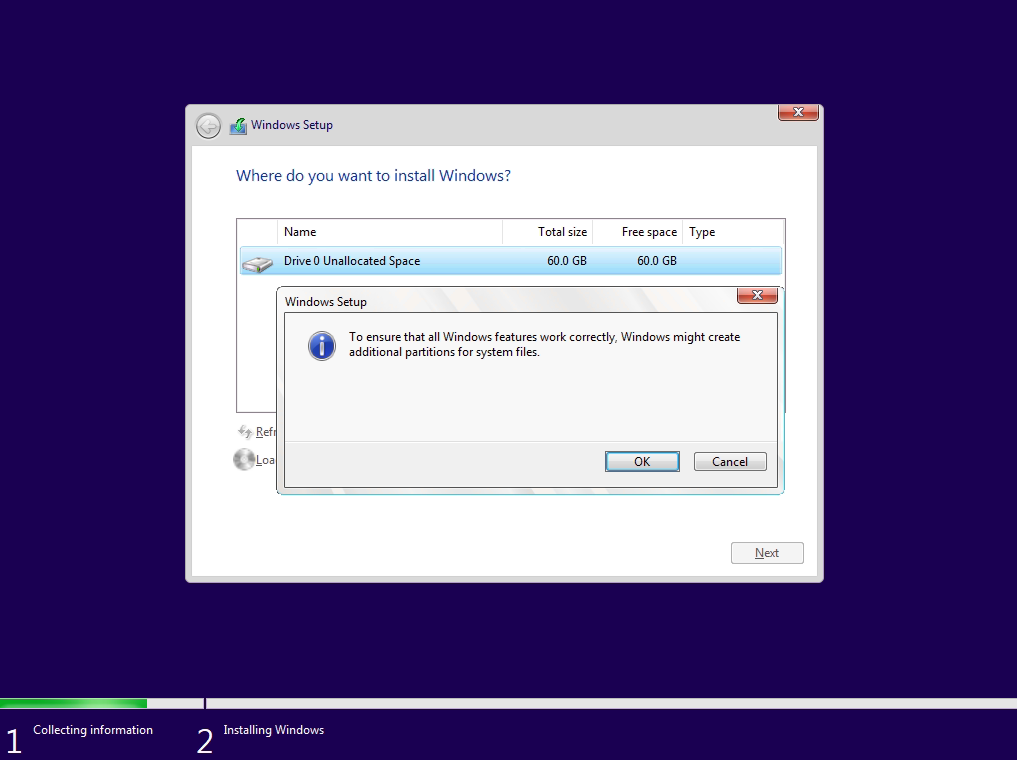
When prompted about Windows creating additional partitions, select “OK”.
Once the additional partitions are created, select “next”.
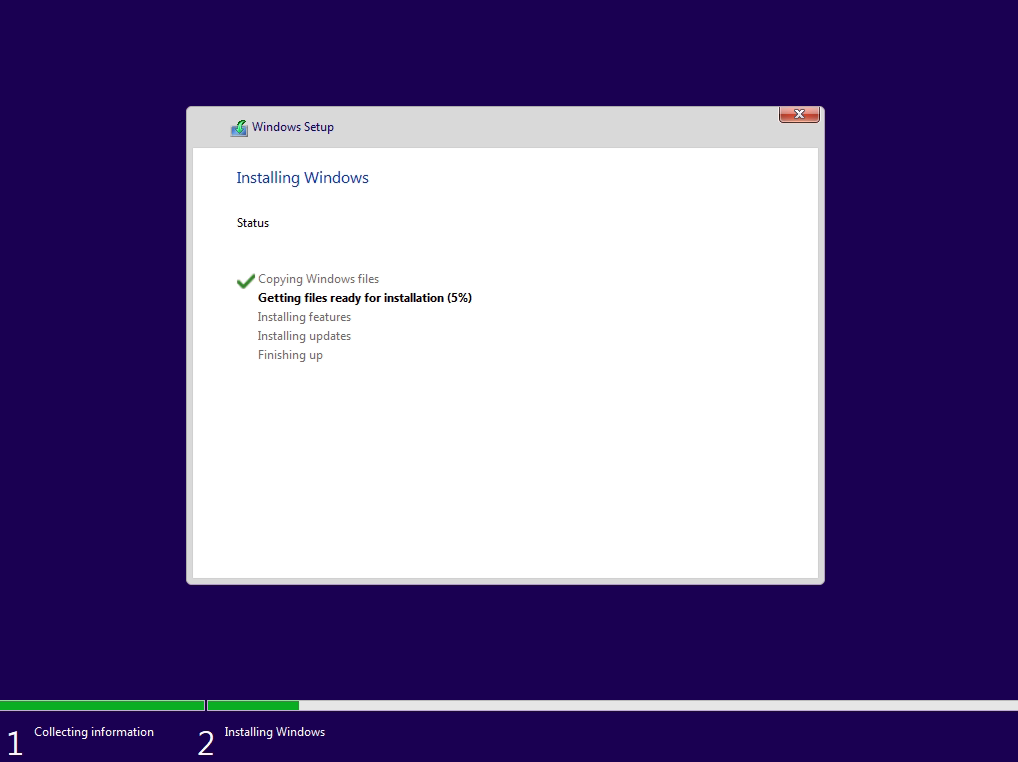
At this point the installation starts.
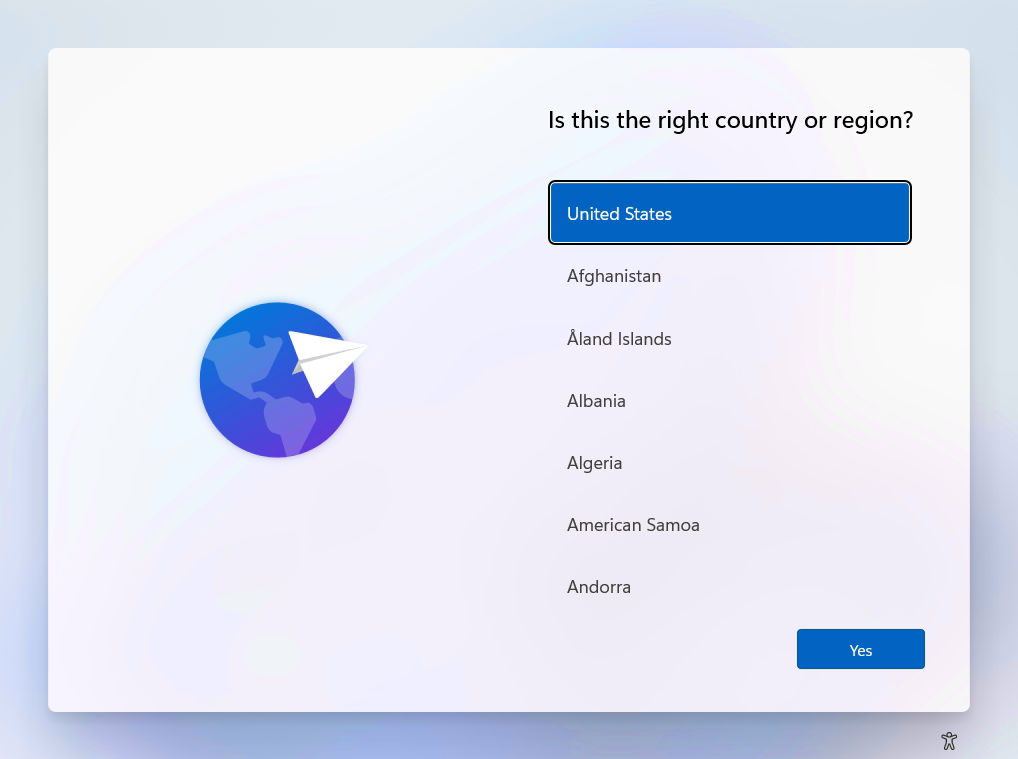
Select your country or region.
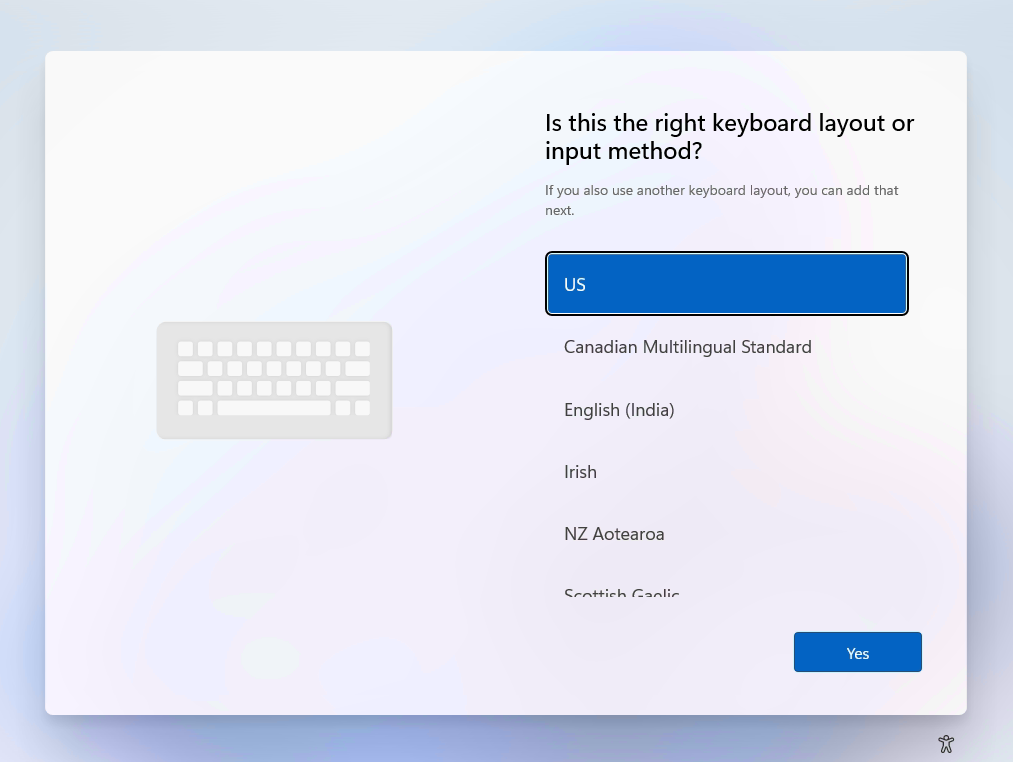
Select your keyboard layout.
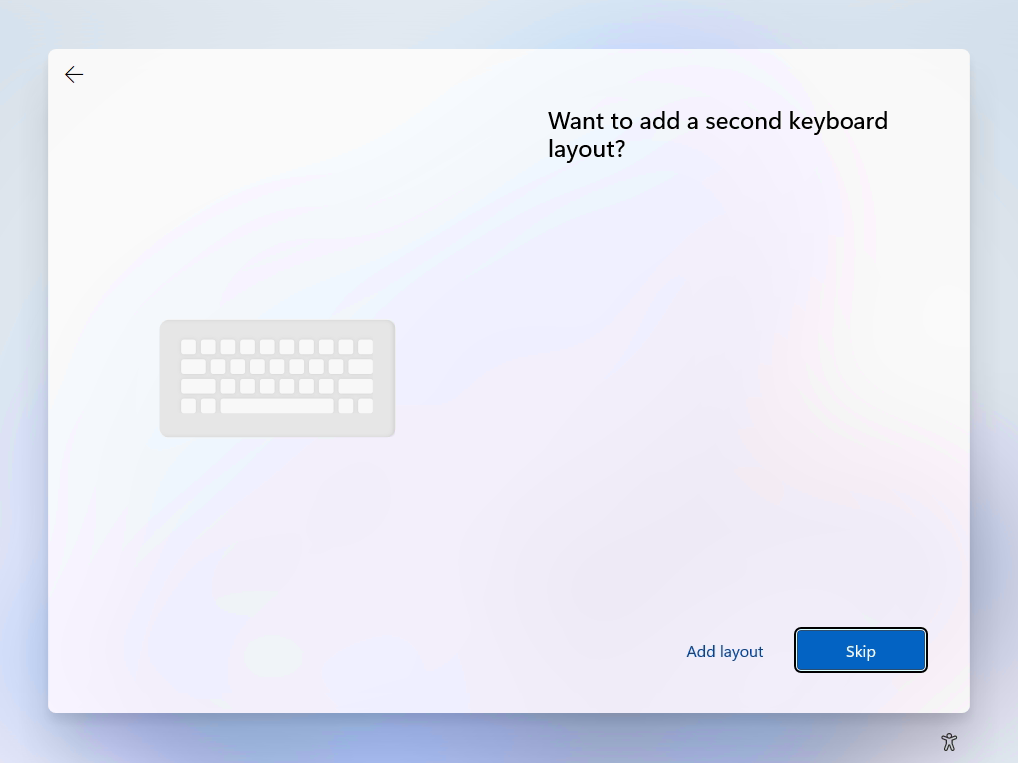
Add an additional layout, or skip.
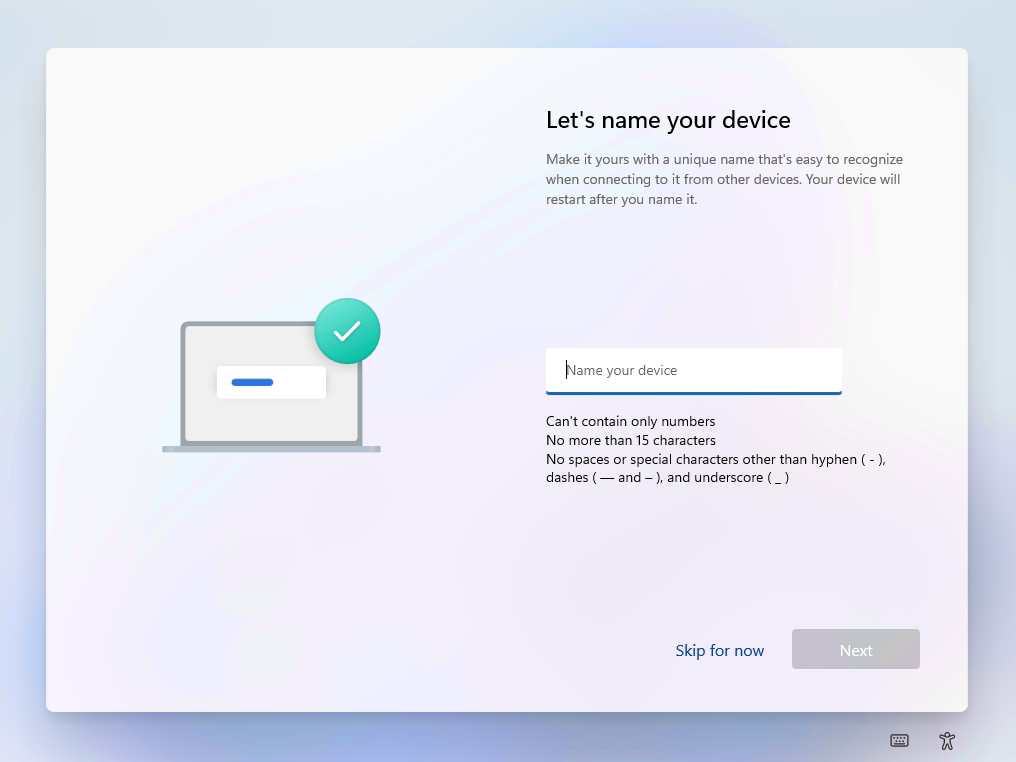
Give your computer a unique name.
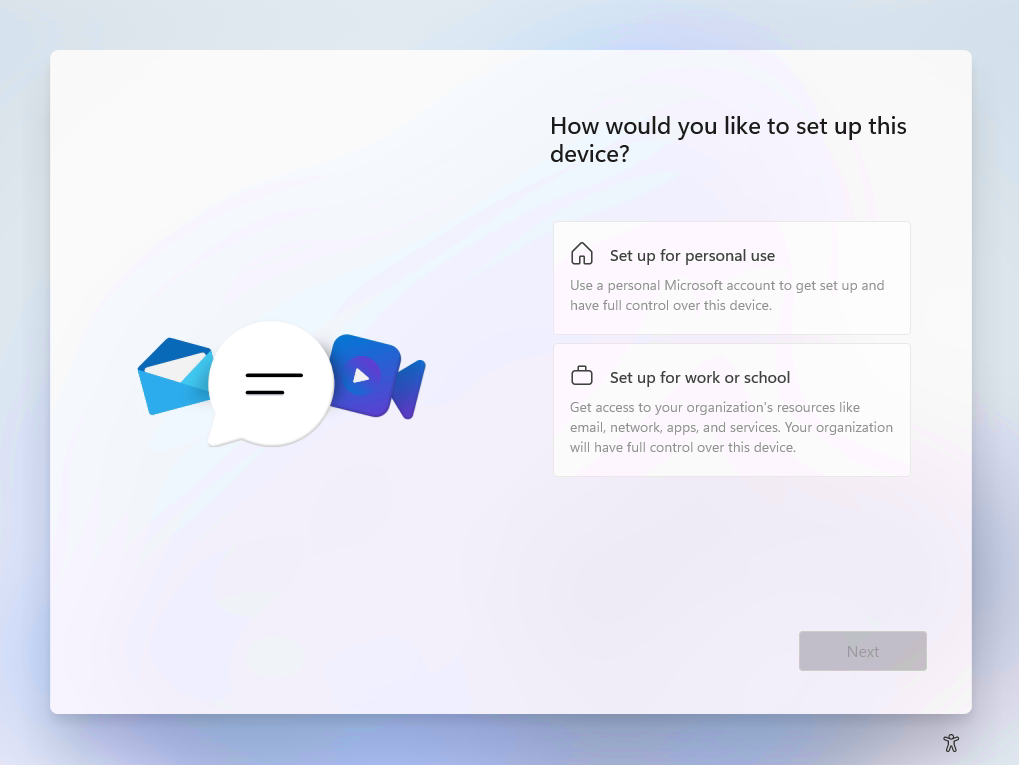
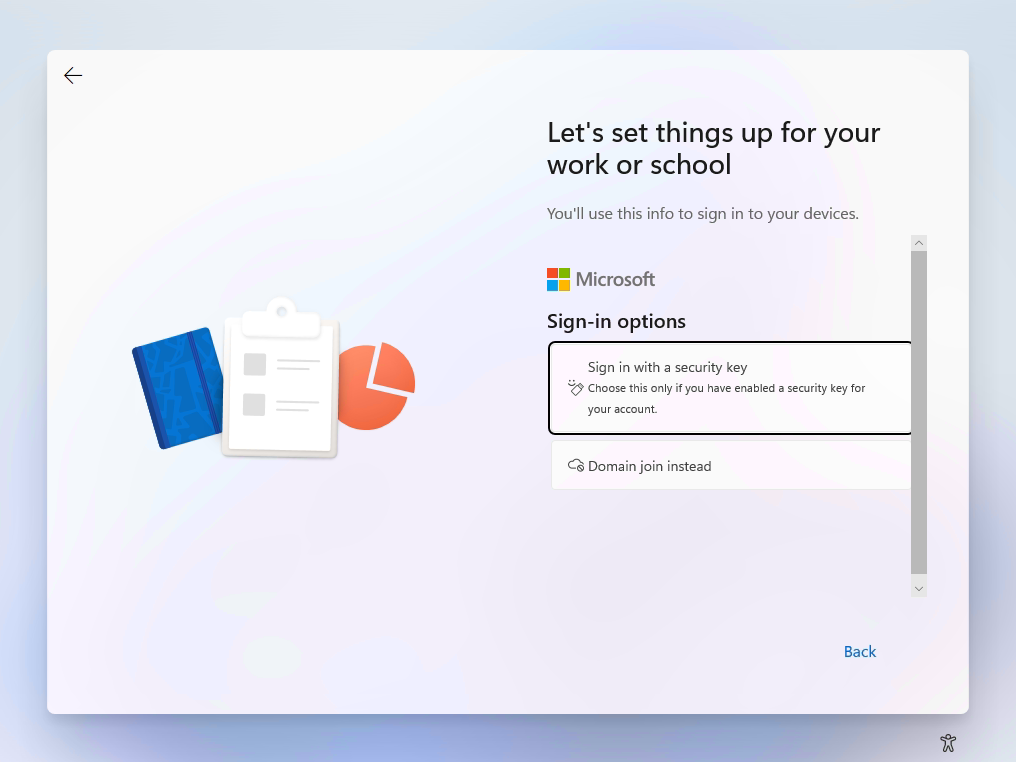
Select “Set up for Work and School”, as this option allows you to create a local account.
Select “Domain join instead”.
Enter the name for your local account.

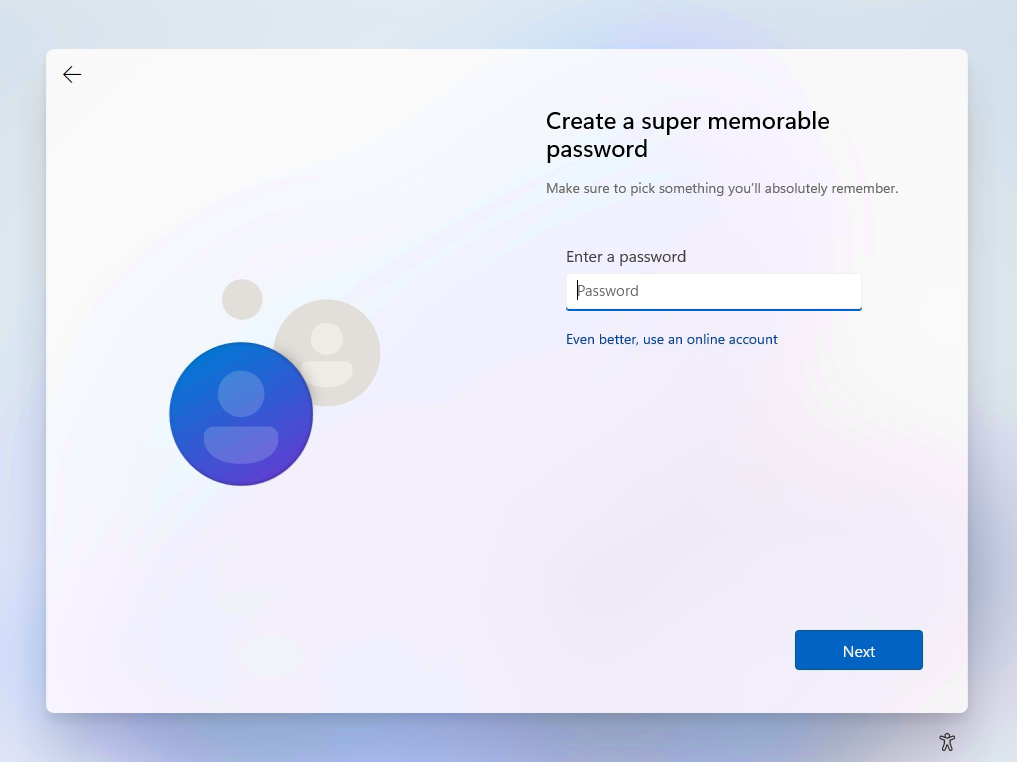
Create your local account password.
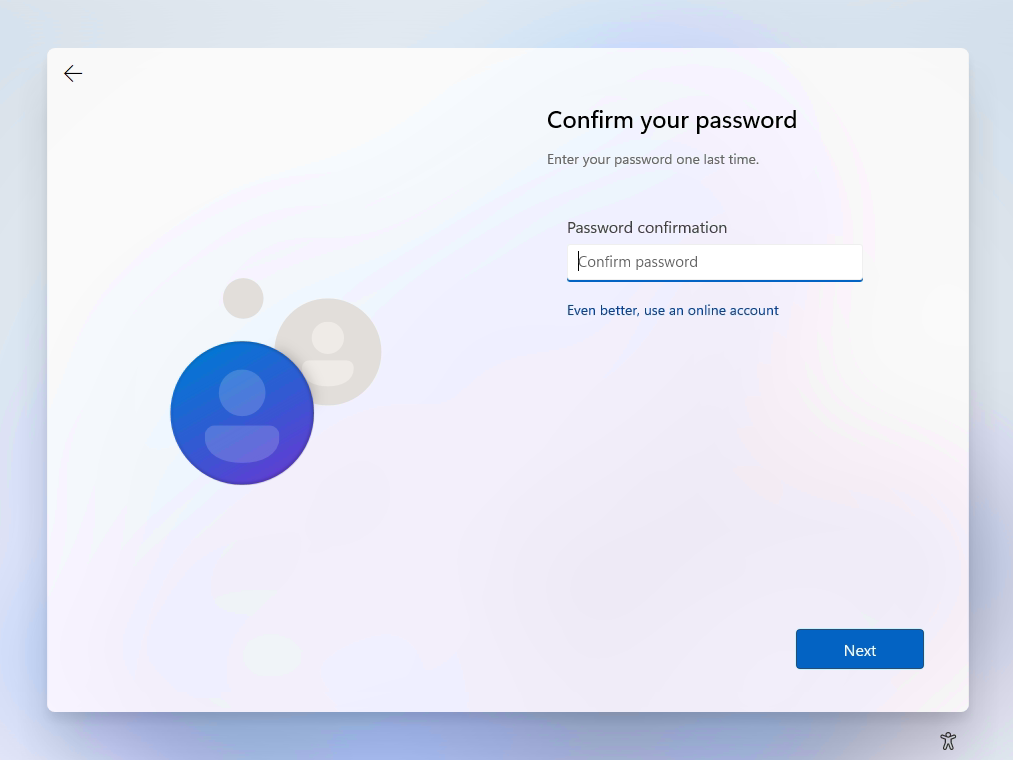
Confirm your password.
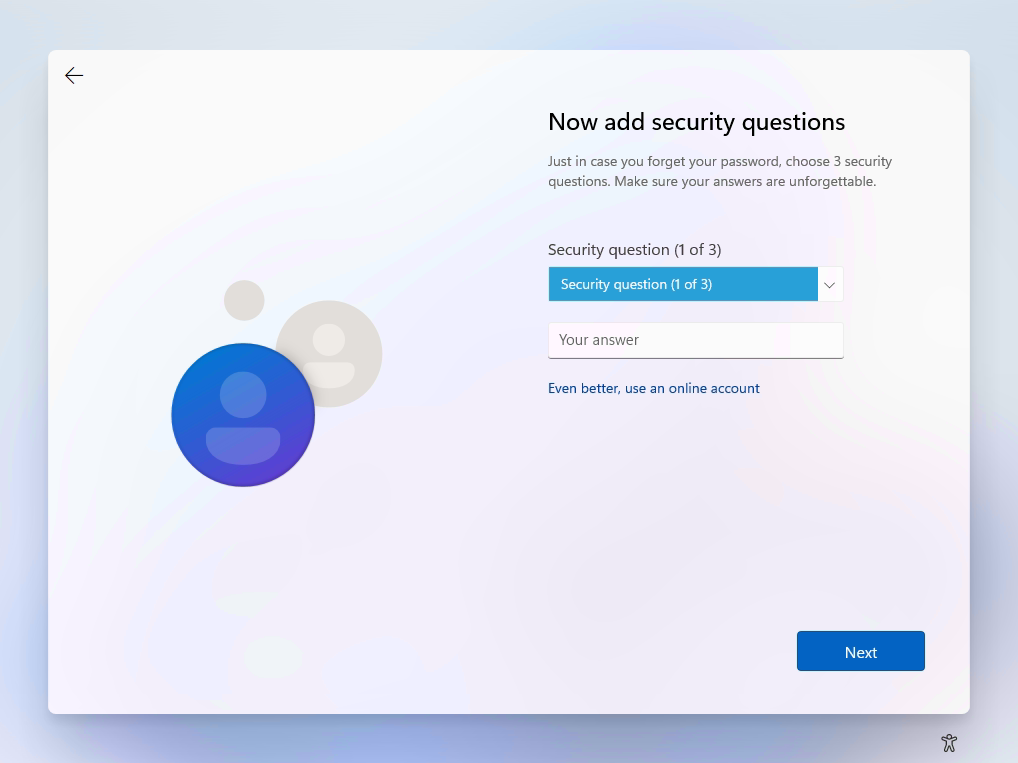
Create your security questions.
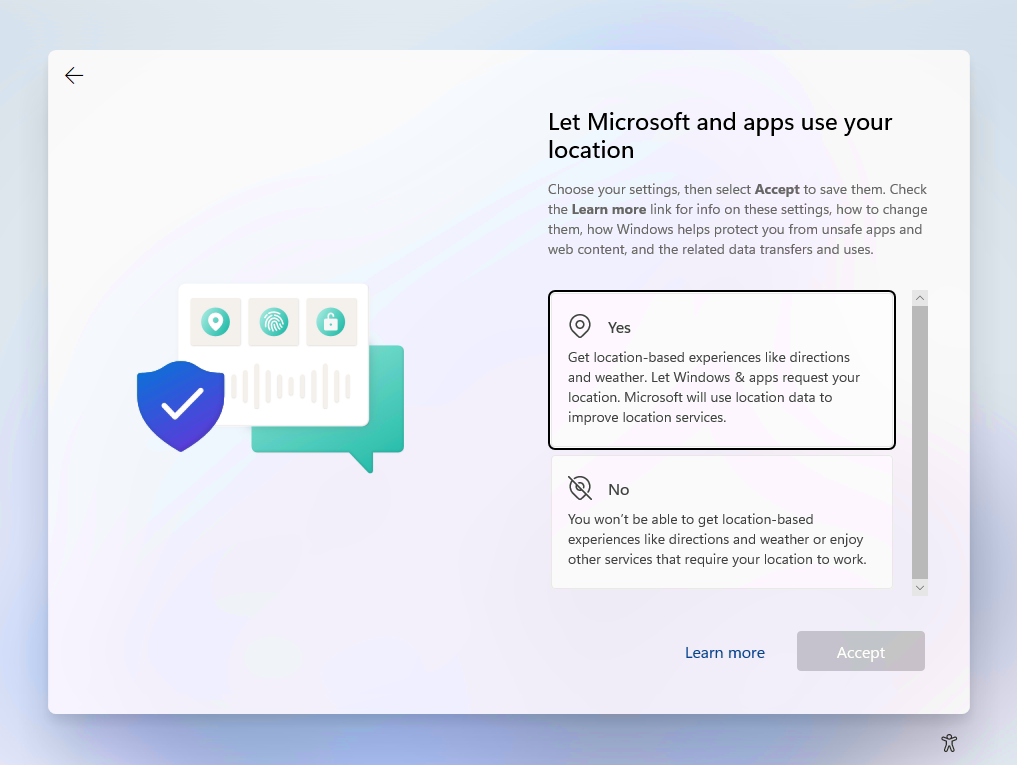
Let Microsoft and apps use your location: Select between the available options.
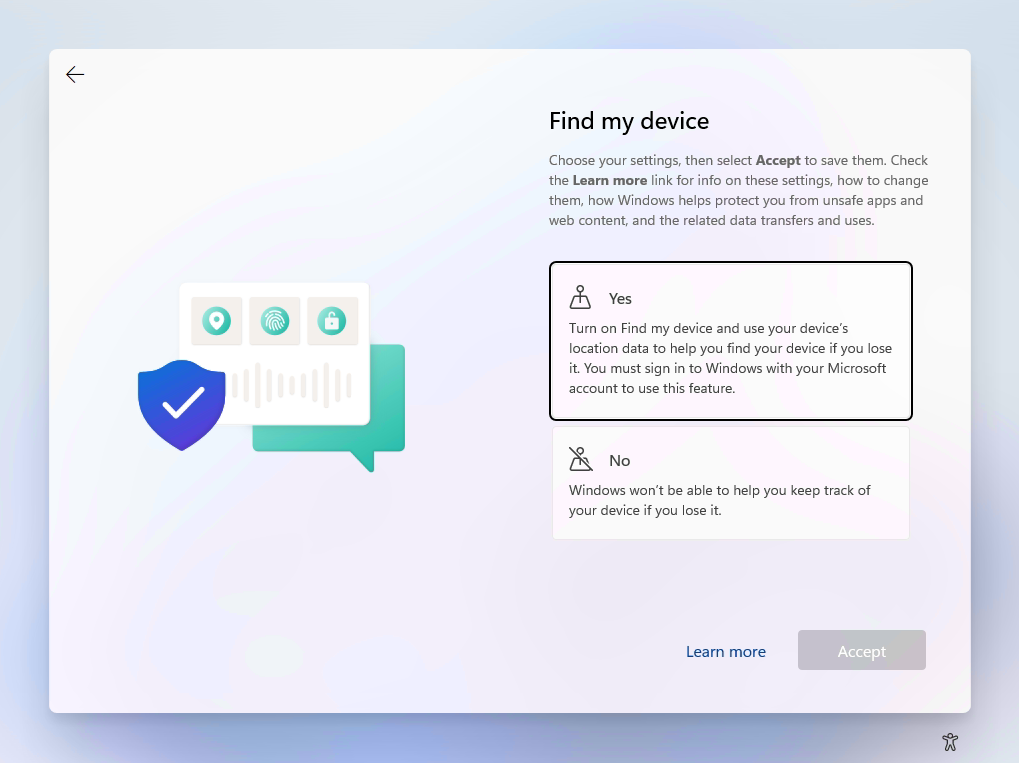
Find my device: Select between the available options.
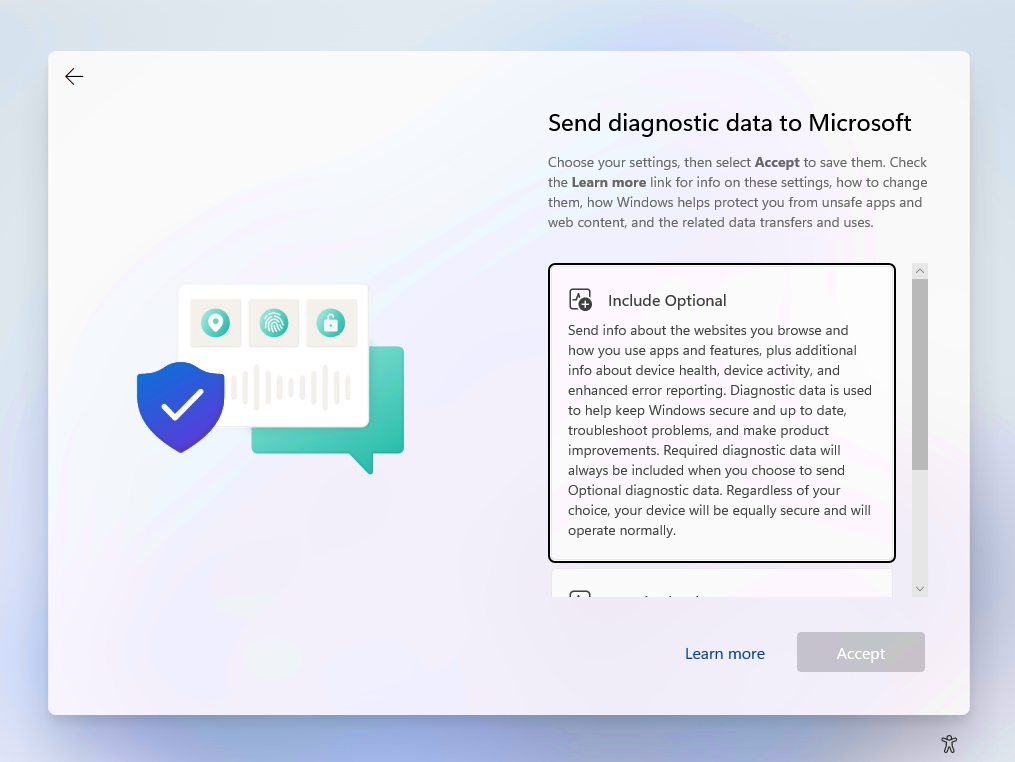
Send diagnostic data to Microsoft: Select between the available options.
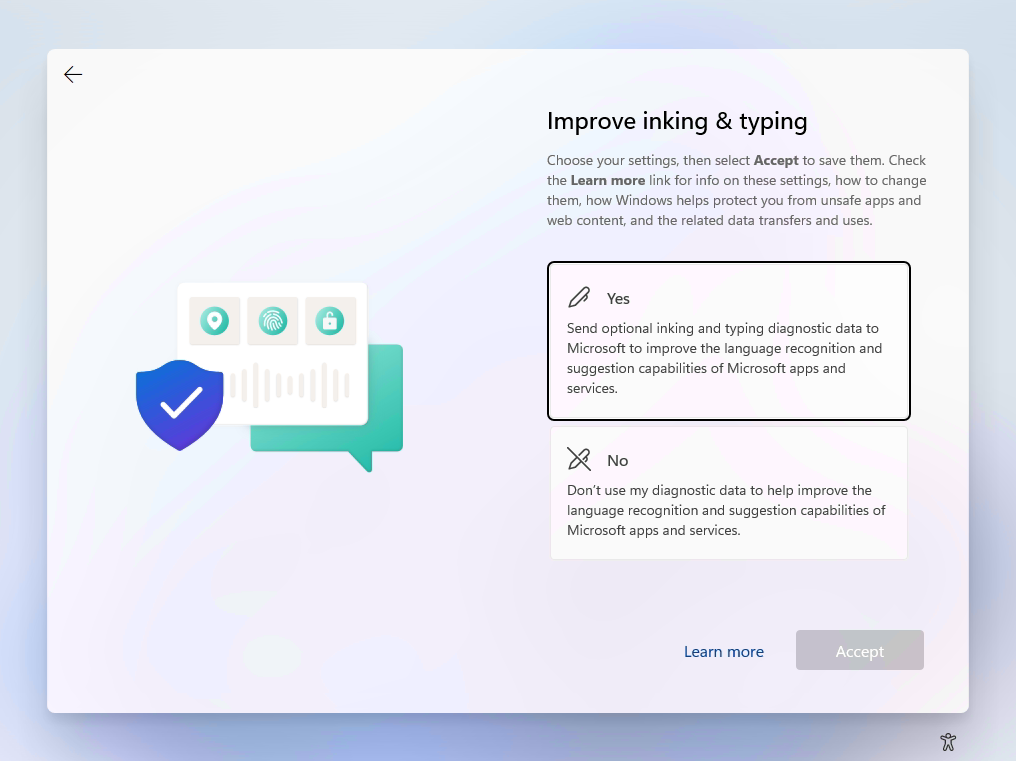
Improve inking and typing: Select between the available options.
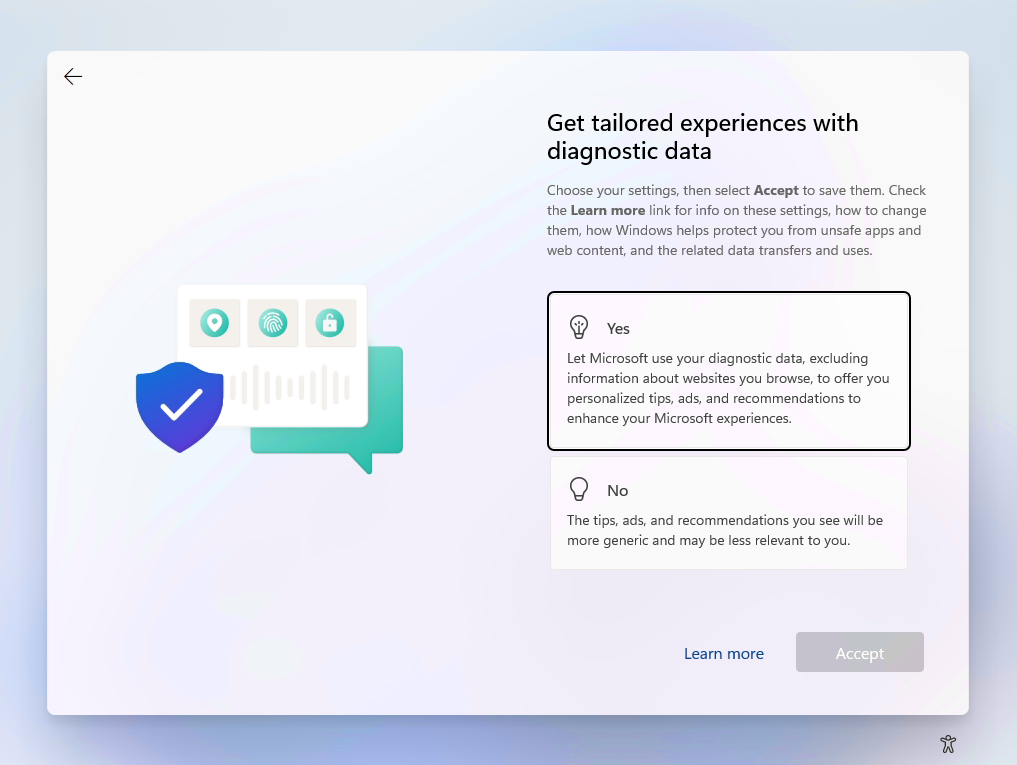
Get tailored experiences with diagnostic data: Select between the available options.
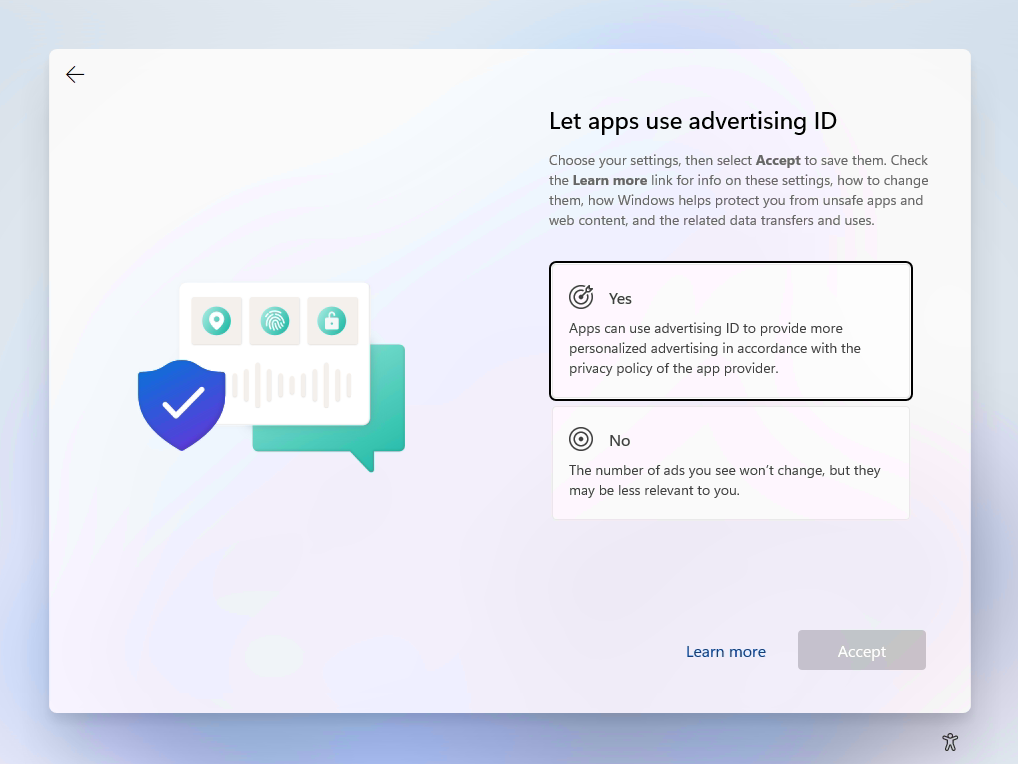
Let apps use advertising ID: Select between the available options.
This might take a few minutes.
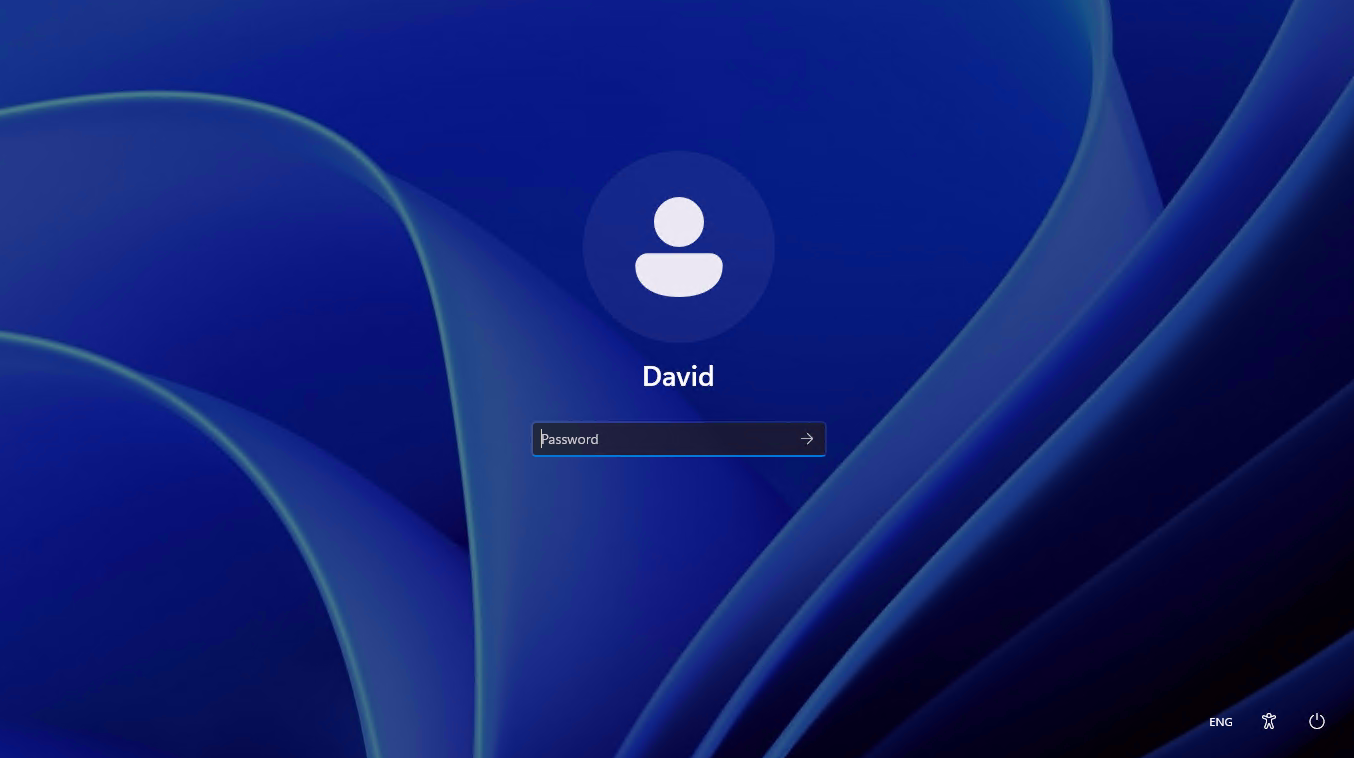
Login!
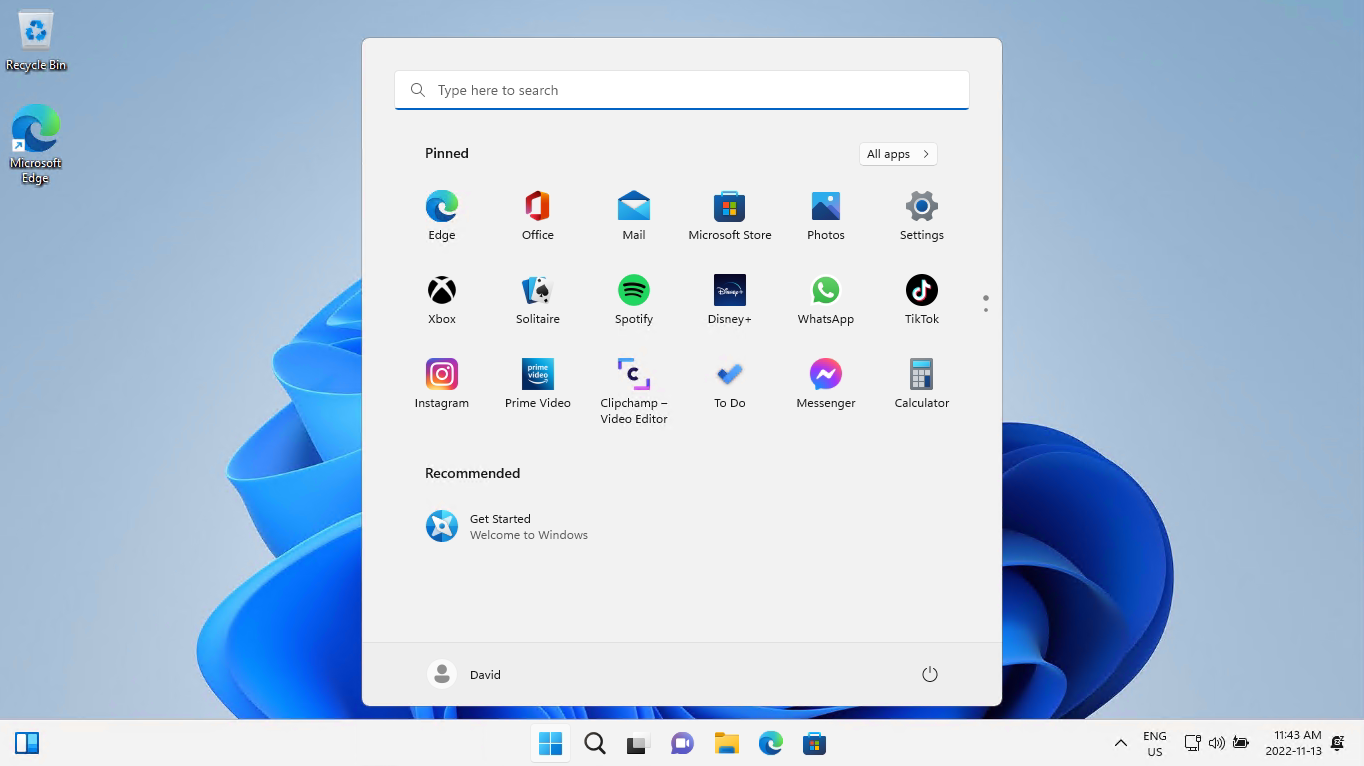
Windows 11 Desktop.
Congratulations! You now have Windows 11, and everything is ready for use.